Construction process
Construction process in pictures
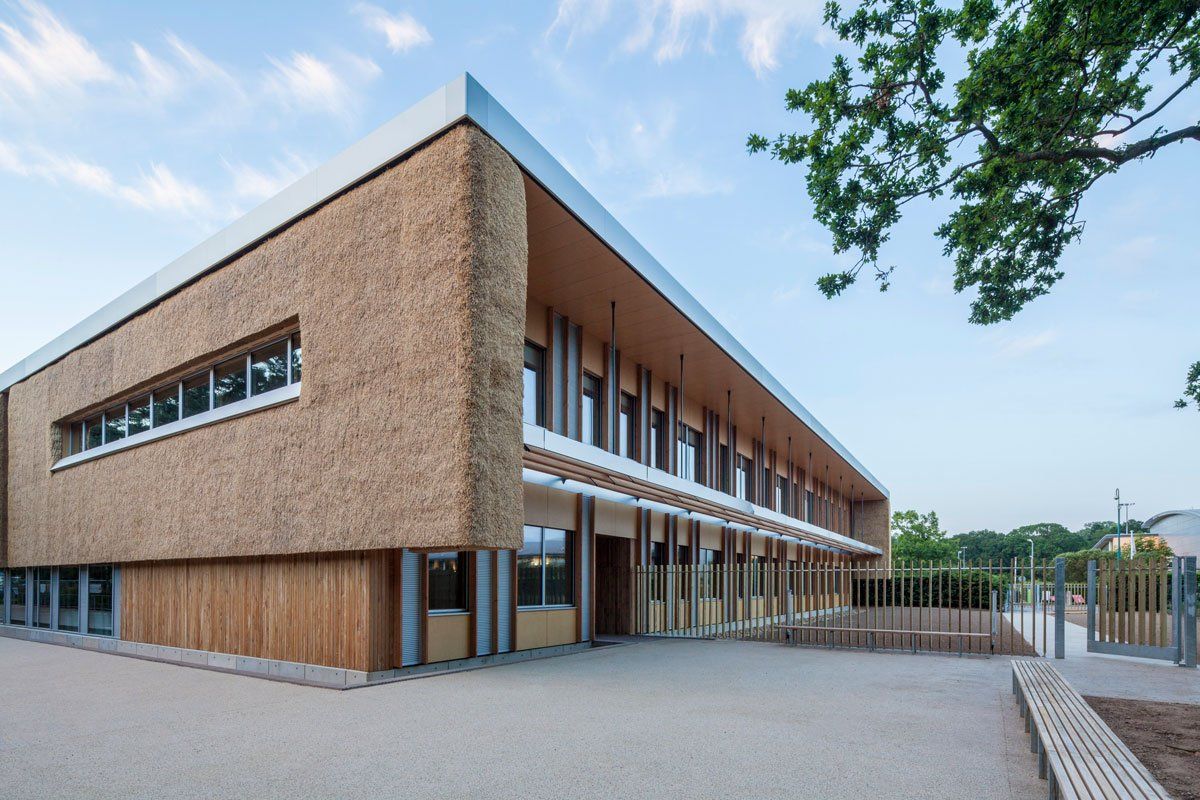
Whether big or small
Each project starts the same way
Slide Title
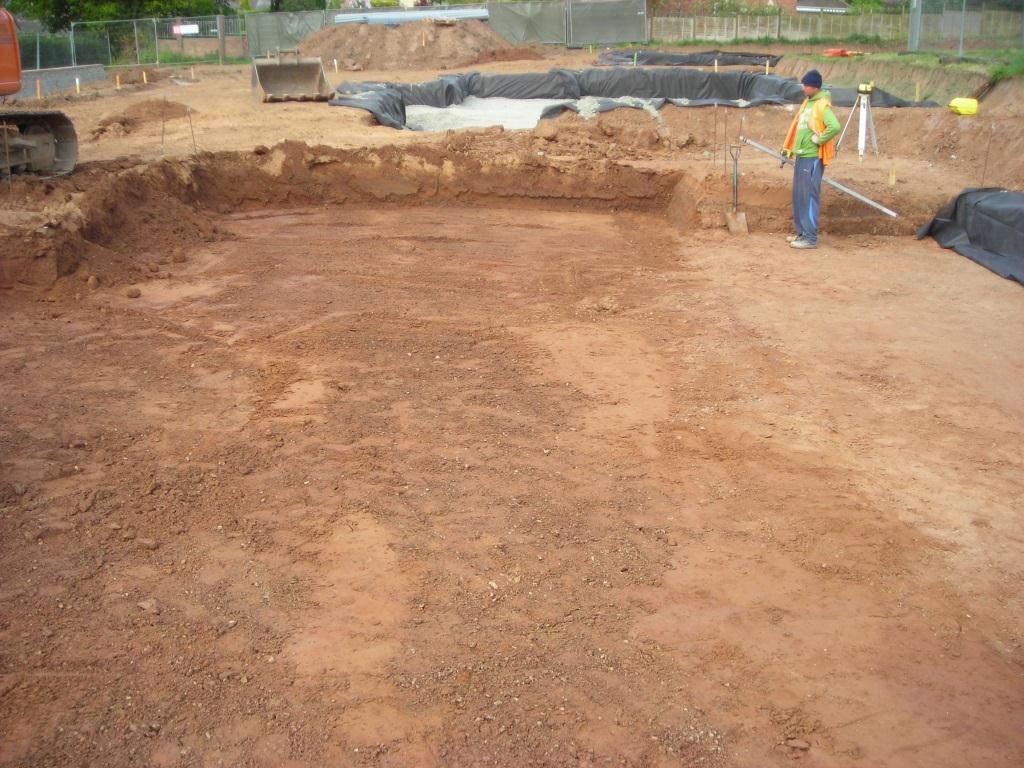
The site is marked out and soil stripped to the formation level.
The actual depth will depend on the local site conditions.
Button
Slide Title
The free draining sub-base is installed in strict accordance with the engineer's specification.
Button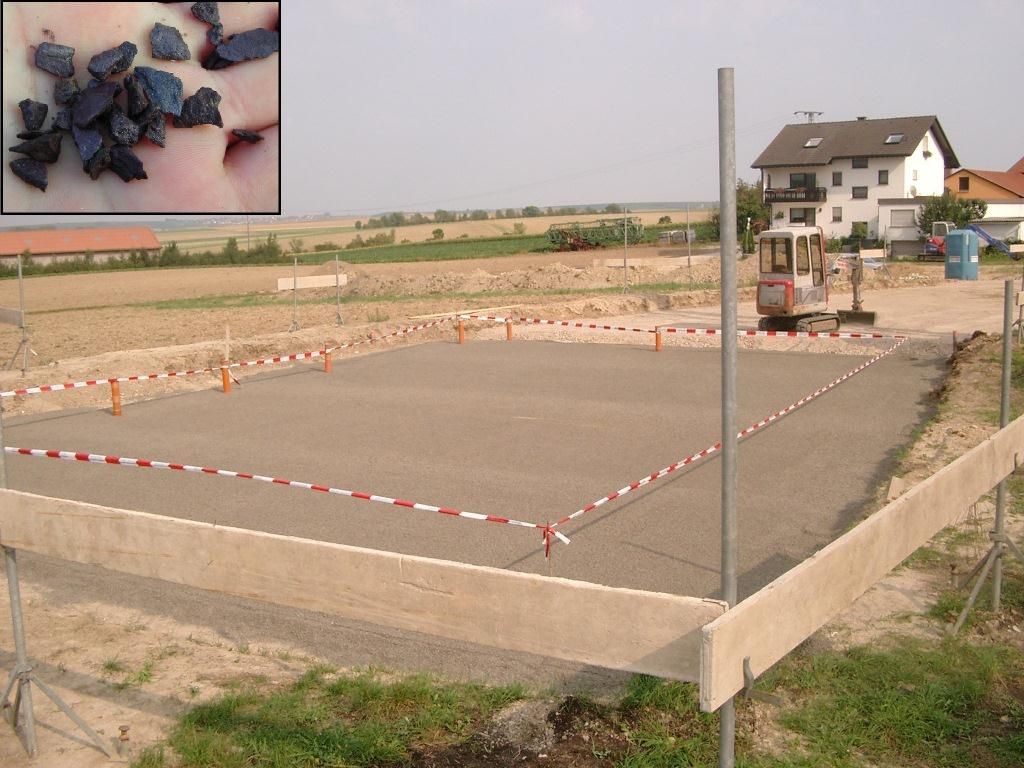
Slide Title
A base layer of grit (e.g. 4/8) is applied over the capillary-barrier layer of frost-proof material. The formation level provides a clean, flat and level base for the modules of ISOQUICK The Insulated Raft.
Button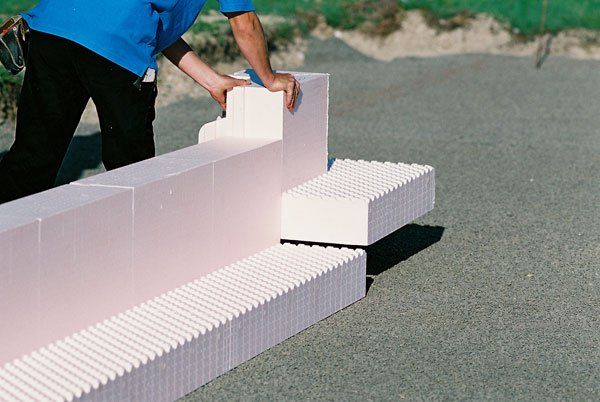
Slide Title
The edge modules are assembled according to the supplied ISOQUICK installation plan. The dovetail locking system ensures a secure connection during installation and concreting work.
Button
Slide Title
The edge modules, which are custom manufactured specifically for each site, are first connected and then aligned with the profile boards.
Button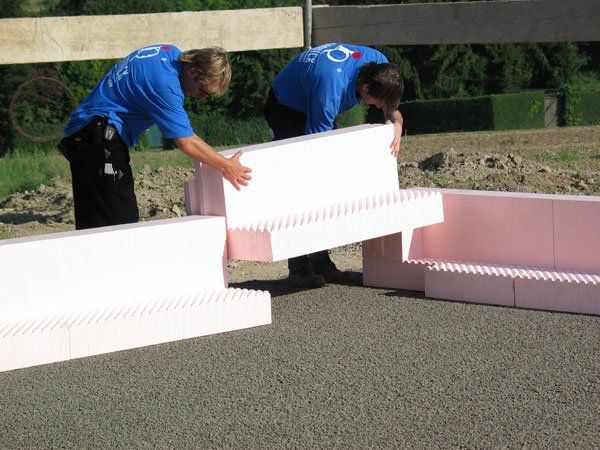
Slide Title
The last edge module fits perfectly into place!
Button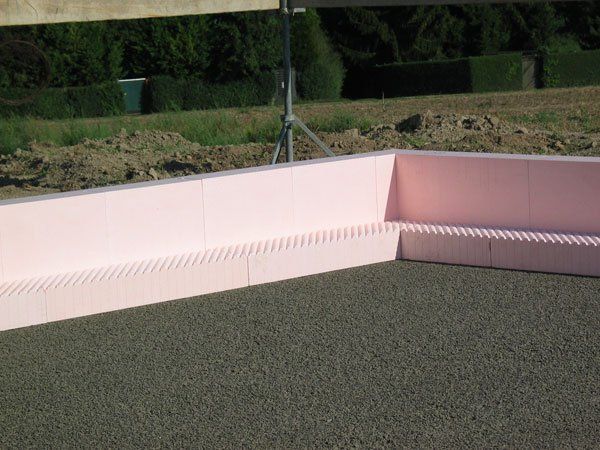
Slide Title
The thermally insulating boarding provided by the ISOQUICK edge modules is soon installed. It is then aligned again with the batter boards and checked by measuring the diagonals.
Button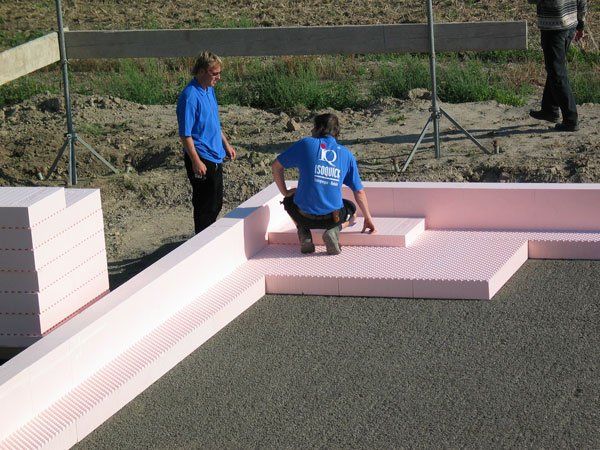
Slide Title
The base modules and the top modules are now put in place. Continuous joints are avoided by covering the edge modules with top modules and by using an offset installation pattern.
Button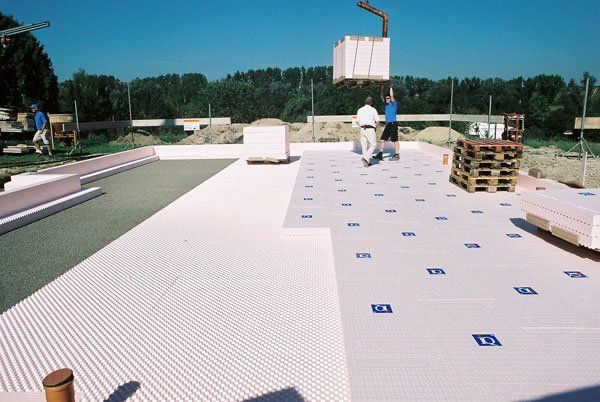
Slide Title
Installation can now proceed row-by-row. The offcuts from one row are used to start the next row, thus reducing waste to a minimum.
Button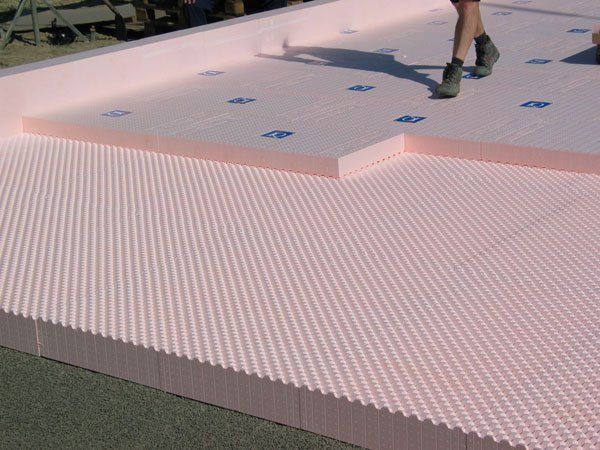
Slide Title
The intelligent profile pattern system ensures that the individual modules are tightly positioned and that no sliding takes place during installation and concreting work.
Button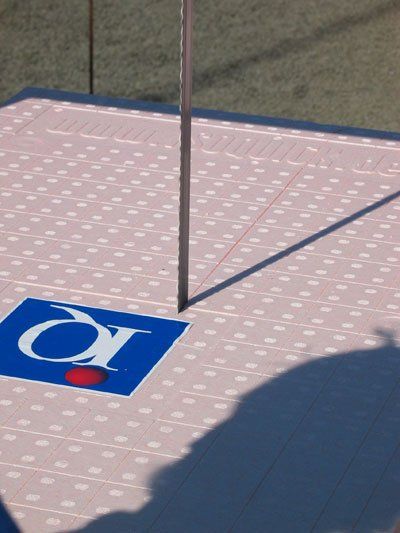
Slide Title
Cutting guides are moulded on the smooth sides of the modules to make cutting easier inside the grid. The modules can be easily cut using a hot wire cutter.
Button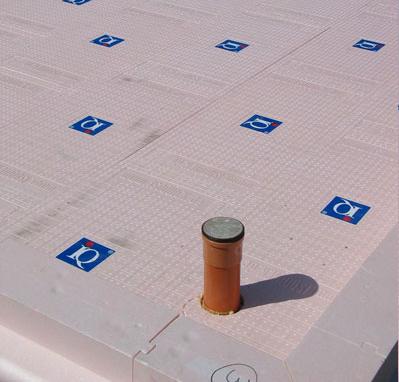
Slide Title
Where pipes run through the thermal insulation holes are sawn out or drilled out, as shown here. The hole can be closed again using construction foam.
Button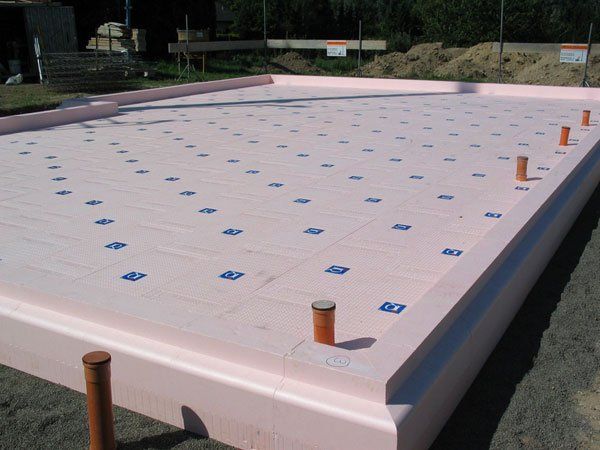
Slide Title
ISOQUICK The Insulated Raft is completed and ready for reinforcement and concrete.
Button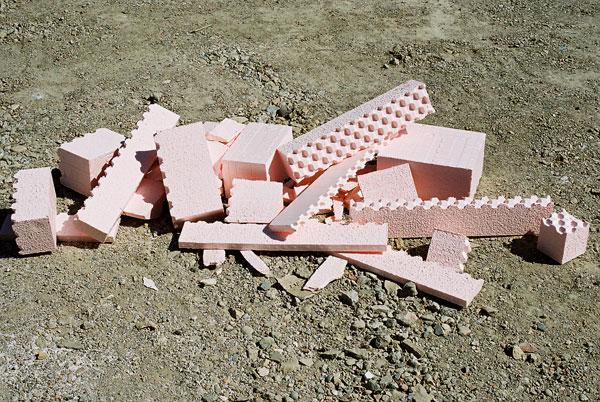
Slide Title
A minimal amount of waste offcuts arises for an ISOQUICK The Insulated Raft of around 150 m², if the offset installation pattern is strictly adhered to.
Button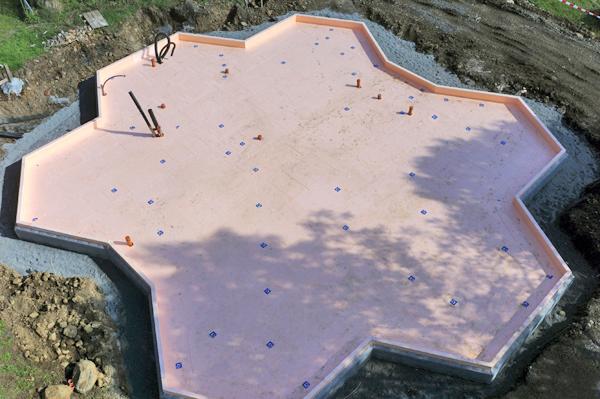
Slide Title
Not a problem! As usual, the edge modules are precut at the appropriate angle.
Button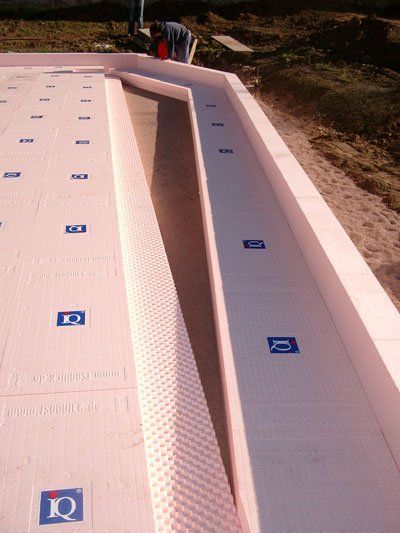
Slide Title
A row of base and top modules is laid at right angles to the edge modules. The remaining modules are installed in an offset pattern along the row.
Button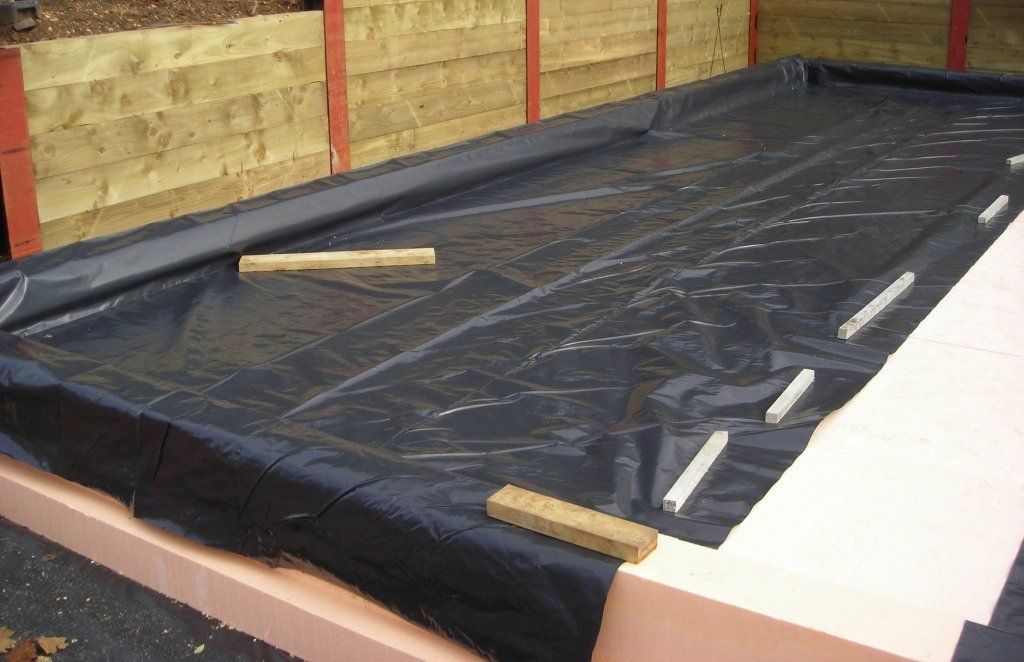
Slide Title
A standard DPM (or radon barrier if required) is installed and the required reinforcements installed in ISOQUICK The Insulated Raft.rite your caption here
A standard DPM (or radon barrier if required) is installed and the required reinforcements installed in ISOQUICK The Insulated Raft.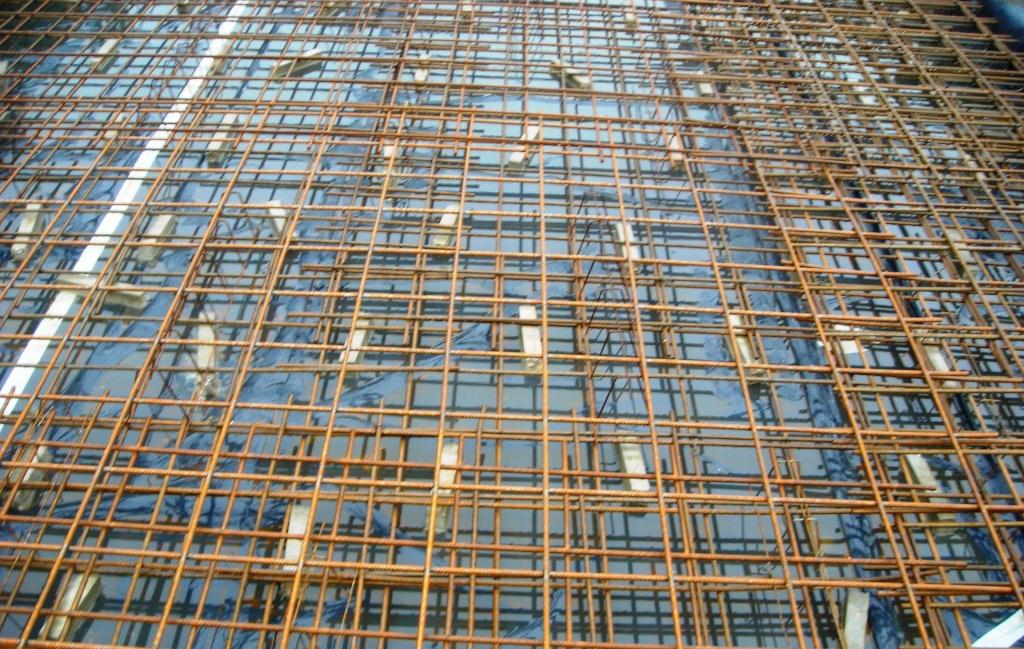
Slide Title
The reinforcement, typically, fabric sheets, is laid on concrete spacers , tied and checked prior to the pour.
Button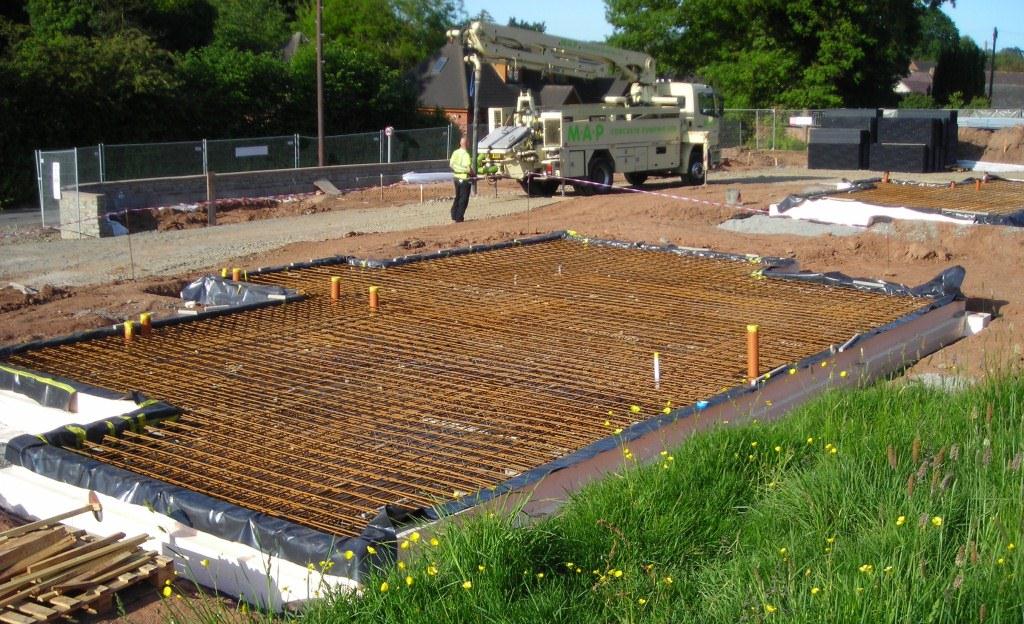
Slide Title
Robust, but simple the slab is ready to fill with concrete
Button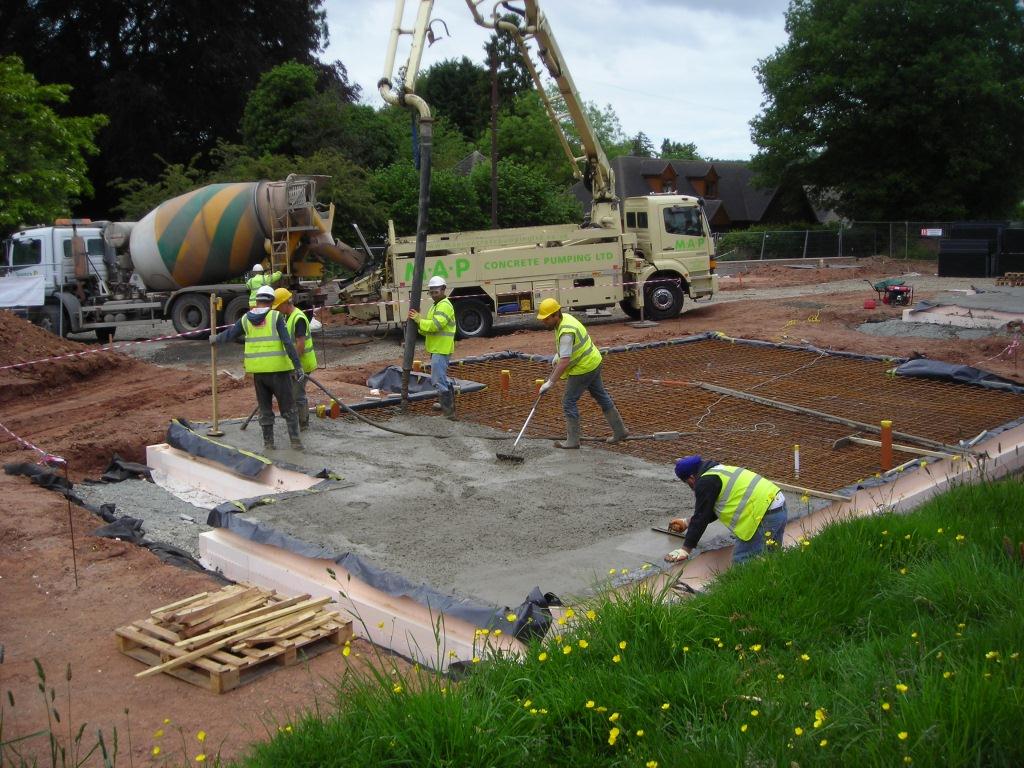
Slide Title
Concrete can be poured into the ISOQUICK The Insulated Raft using a crane or concrete pump, as shown here, without the need for further shuttering.
Button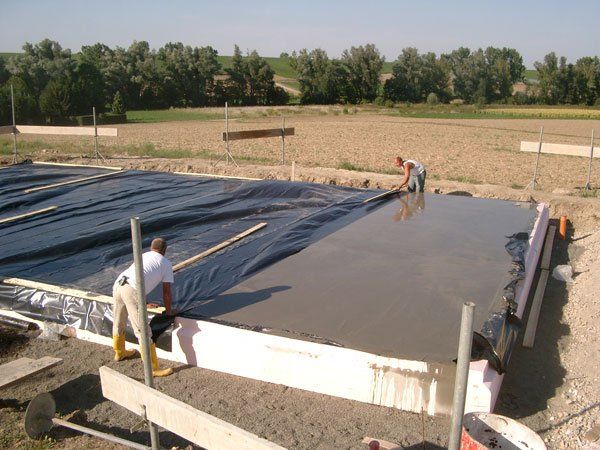
Slide Title
The concrete is then finished in the usual manner.
Button