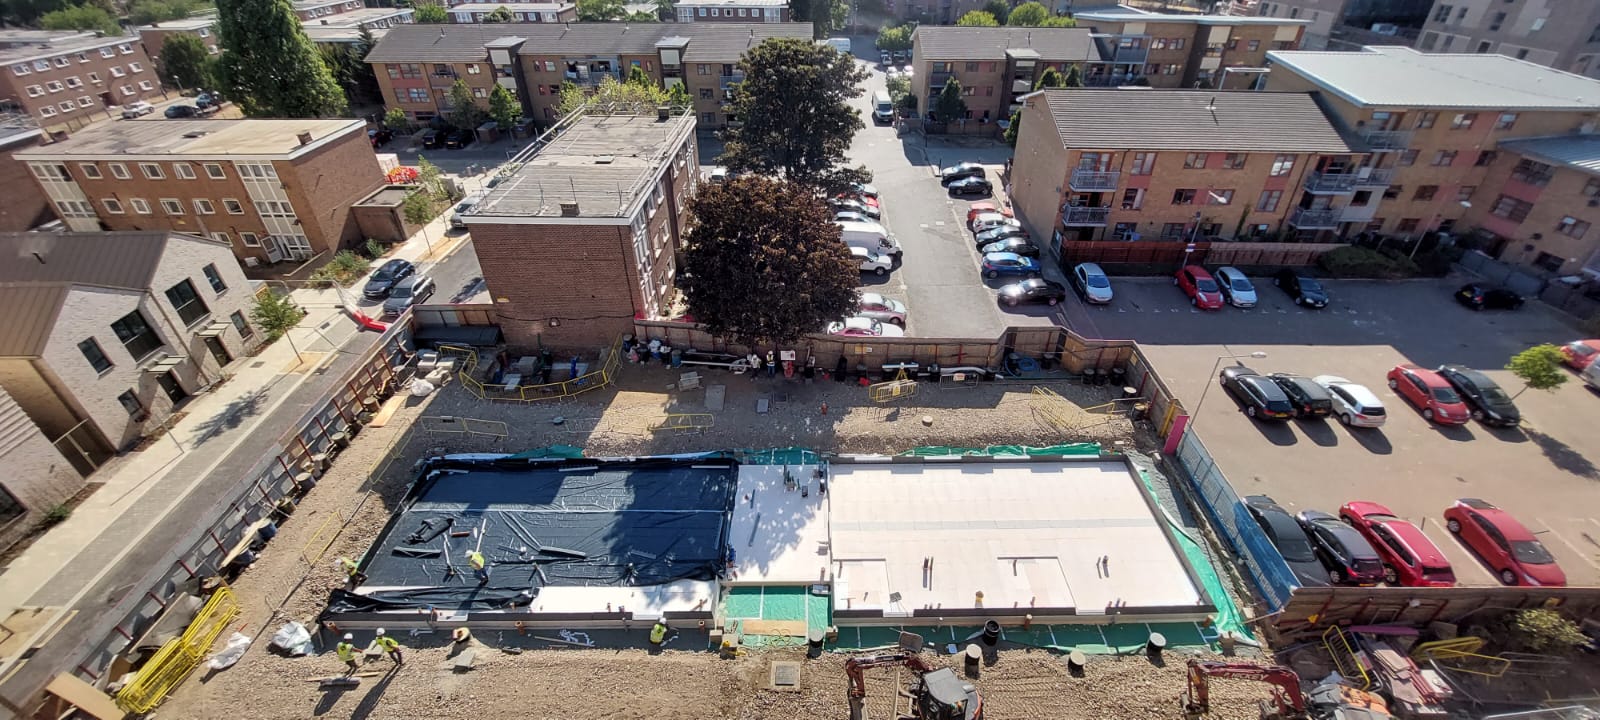
How to prepare the site for ISOQUICK
The ISOQUICK® insulated raft is the ultimate effective and inexpensive insulating foundation and there’s a reason why so many builders and self-builders choose it.
But before it can be laid, it is crucial to properly prepare the site. Here, we give an overview of the steps involved:
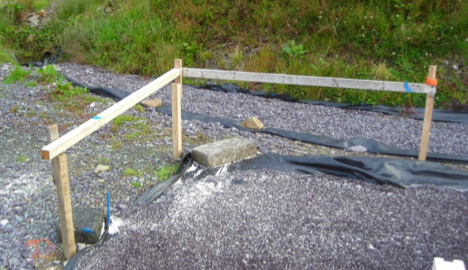
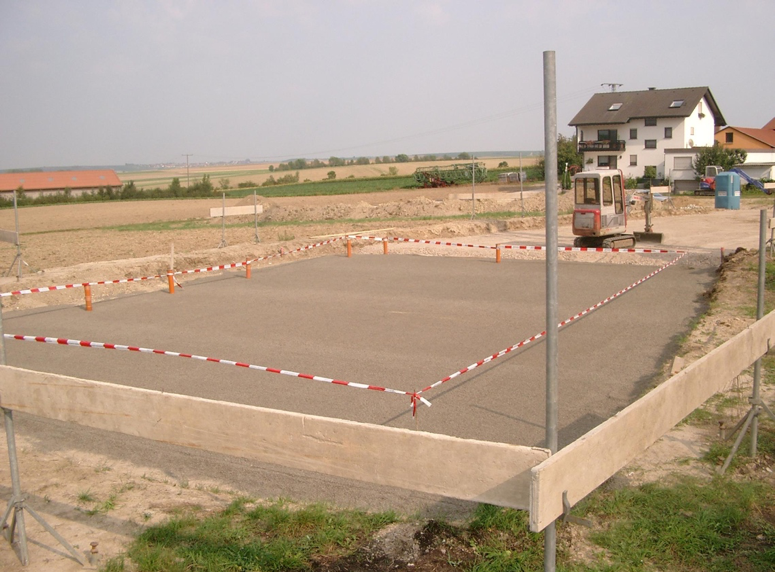
1. Mark out the site
First, it is important to mark the site out properly. Good sturdy marking out points will ensure:
- You excavate in the right place
- You excavate only what you need to
- You get pipes and services in the right place
To mark out the site, use profile boards so you can run a string line across the site about 5cm above the level of the concrete slab. The string should indicate the edge of the concrete.
Position the profile boards far enough away from the edge of the foundation to allow for excavation without inference and, remember, the stone and ISOQUICK® edge module will extend beyond the edge of the concrete slab.
Use similar profiles to mark out the position of ducts and services.
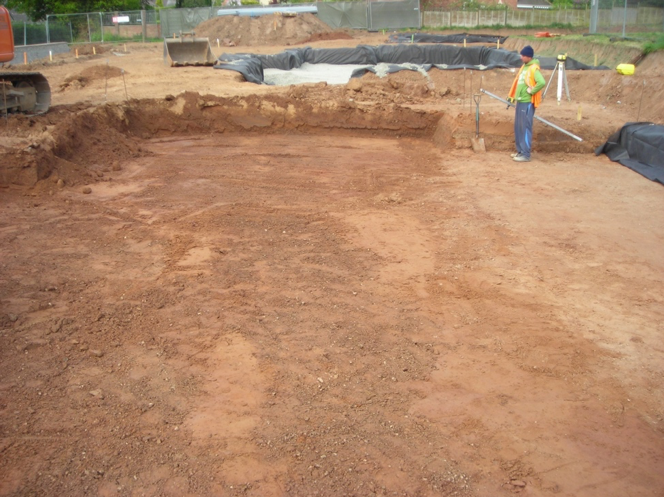
2. Dig out the site
The stone base that the ISOQUICK® raft will sit on, should extend out beyond the edge of the raft – how far it extends is relative to the depth of the fill material – so make sure you dig out enough room. If the site practicalities make this impossible, consult your engineer, a retaining footing may be required.
Strip the soil to the same depth across the site and compact the base. The depth will depend on the bearing capacity of the soil and if it is clay you will need to take into account the risk of heave caused by trees.
If you find a soft spot, it must be removed and replaced with fill before continuing. If the site is stepped, your engineer may allow you to step the excavations, but confirm first.
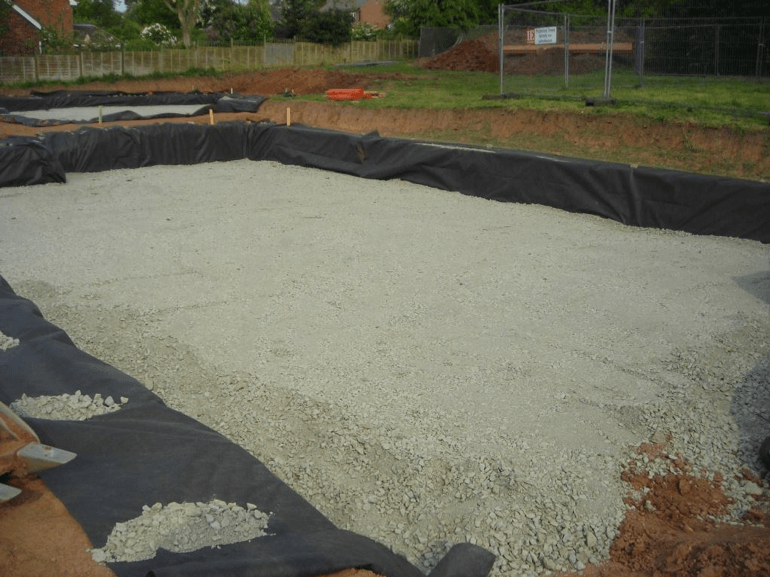
3. Lay and compact your sub base material
Once the site is dug out, you need to lay your sub base material. The sub base material you use needs to conform to the engineering specification provided by the engineer and should be laid in layers and each layer will need to be compacted properly.
Our preferred material is Type 3 Limestone (sometimes known as Type 1x) and we recommend using 40mm unbound mixture. Generally open graded with a reduced amount of fines (not zero fines) it improves drainage when compared with Type 1 and can also be made of recycled (crushed) concrete. Other materials can be used but un-classified brick rubble should not.
After each layer of sub base material is laid it needs to be properly compacted. Note that the thickness of each layer and how many passes are required to compact it will depend on the type of roller/compactor used. For example, a 1500kg/m vibrating roller should only compact layers up to 150mm thick and each layer will require 16 passes.
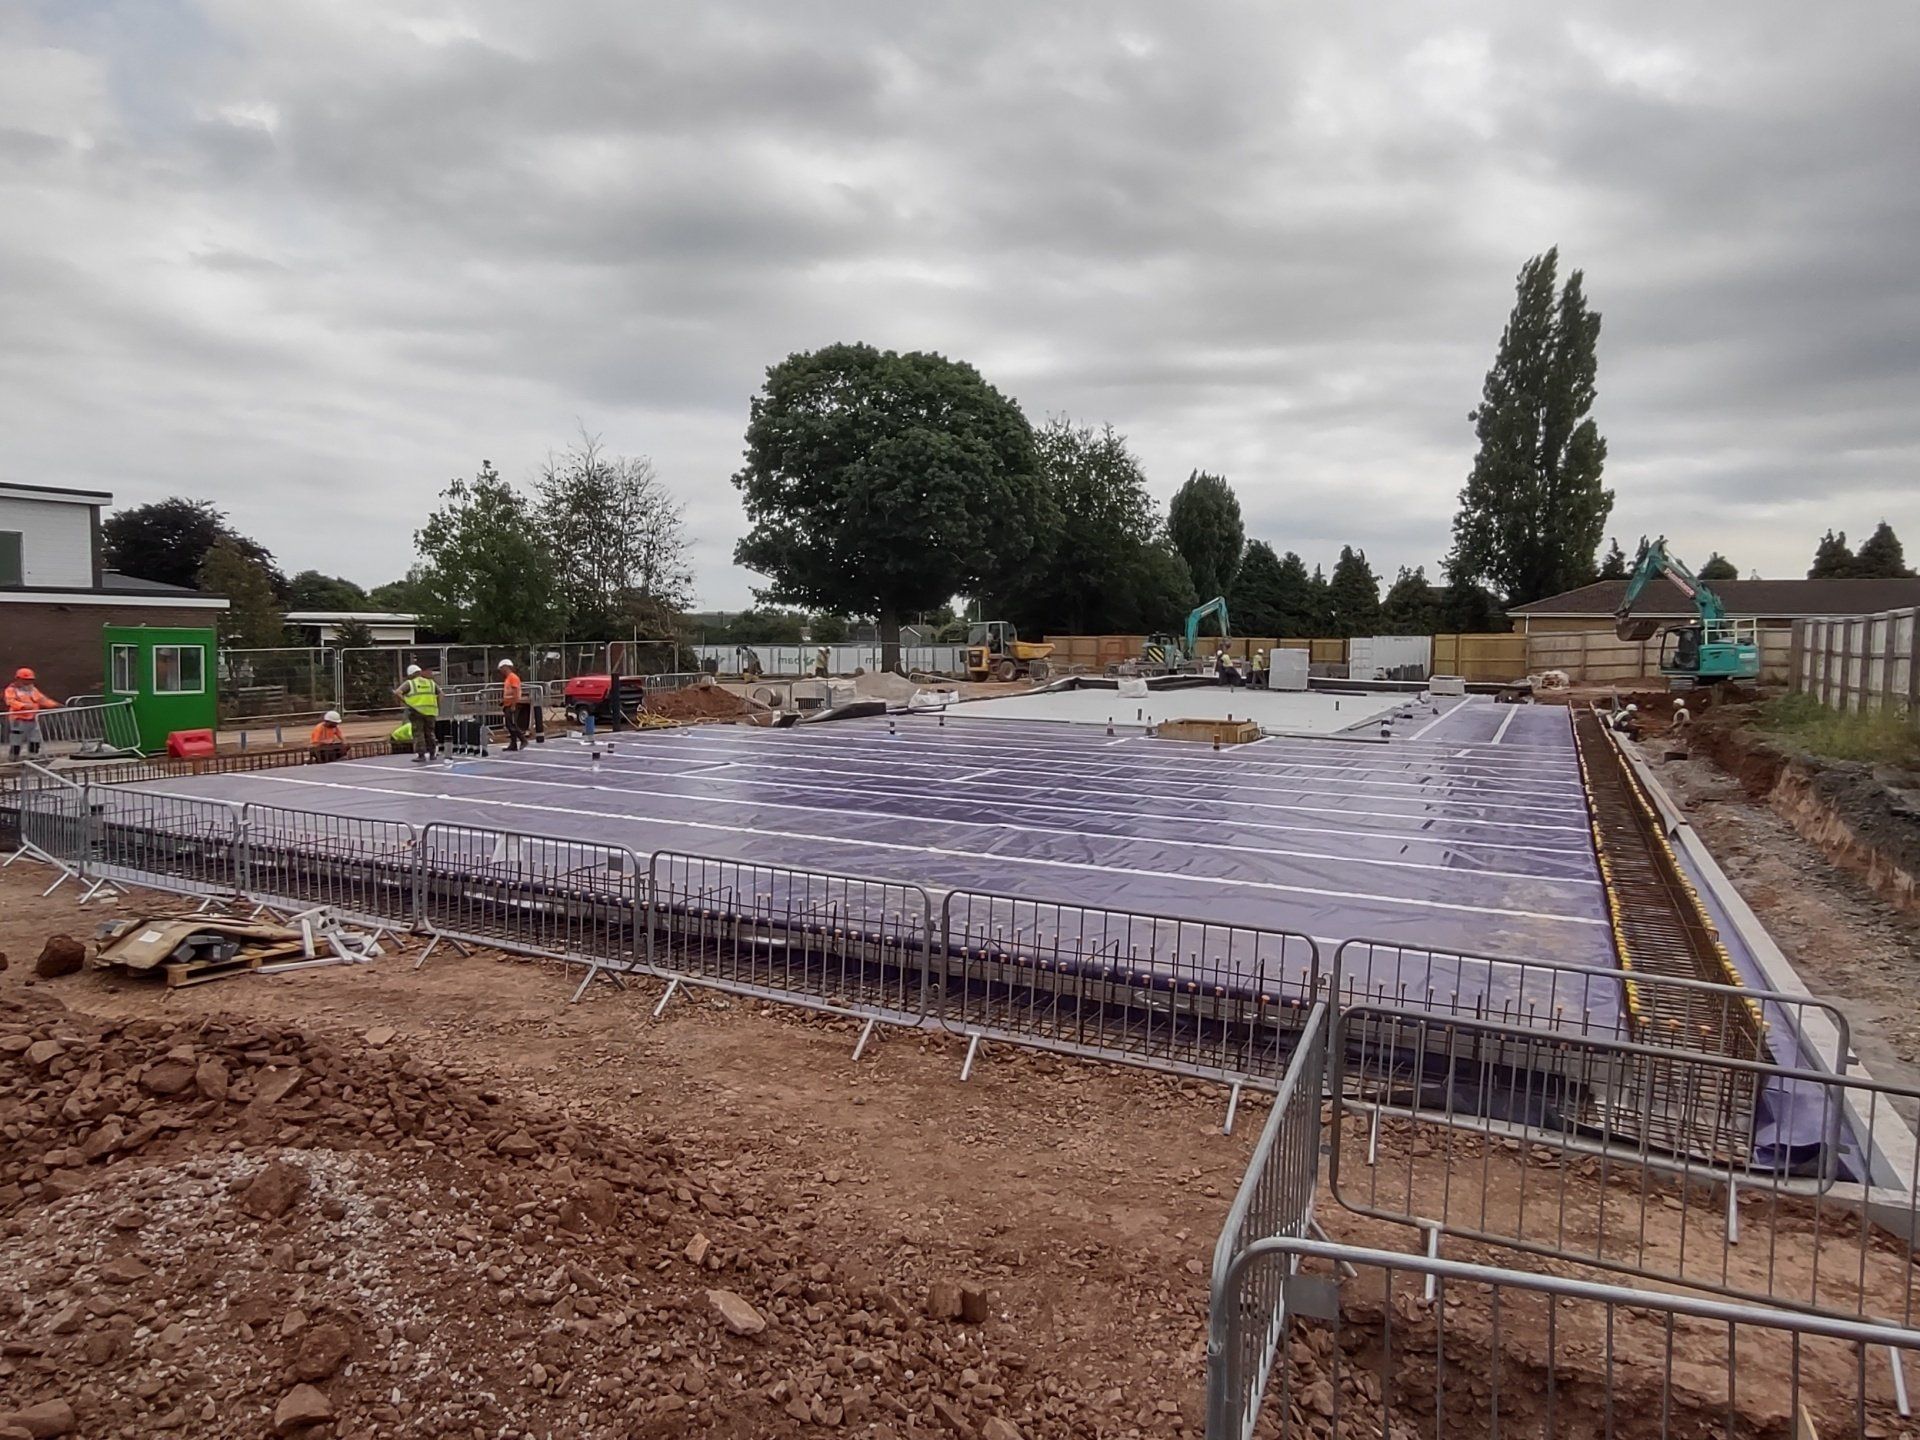
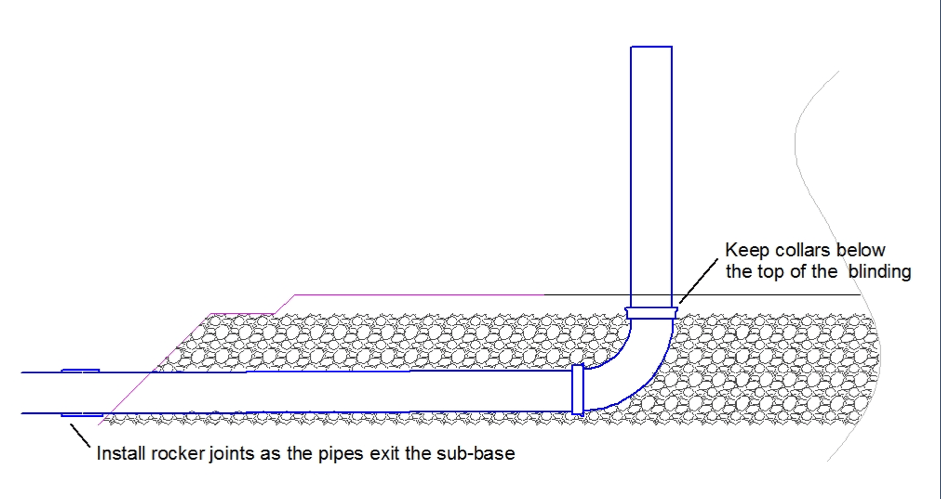
4. Install drains and ducts
Having compacted the fill, it is time to install the drains and ducts. Doing so after the stone protects them from being damaged when the stone is compacted.
Installing the drains and ducts requires excavating the trenches for the pipes into the sub-base, using the narrowest machine bucket or drainage spade available. Wherever possible install all pipes vertically through the insulation and keep collars and bends below the top of the blinding. Rigid pipes should also include a rocker joint to allow for settlement as the pipe leaves the compacted stone area.
5. Lay and level the blinding layer
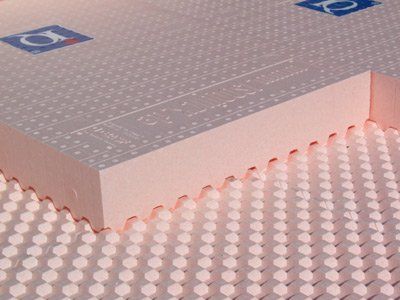
The ISOQUICK® raft should never be laid directly on the sub base which is why you need to lay and level a blinding layer. The blinding layer should also extend at least 150mm beyond the edge of the bottom of the ISOQUICK® raft.
Our preferred material for the blinding layer is 2/6mm limestone. Typically used as the bedding layer in permeable paving systems, it is angular in shape and free draining. It does not contain dust, lays easily, does not move when rained on, and will create a capillary break under the insulation to help keep it dry. Granite or angular gravel can also be used as alternatives. We do not recommend sand or pea shingle.
It is important for the blinding layer to be flat , level & free draining . A flat and level blinding will ensure the insulation is properly supported and avoid concentrated point loads which can crush the insulation.
The tolerance on the level of the blinding also needs to be tighter than the tolerance on the level of the concrete. You want the concrete to be +/-5 and should aim for +/-3 on the blinding.
Screeding the blinding layer is necessary to ensure it is level and the right equipment makes screeding the grit blinding much easier and faster. Note that most laser levels are only accurate to +/-3mm over 30m and so we recommend using a more accurate optical (dumpy) leveller.
To lay and screed, there are two main methods that are suitable for most sites:
Method 1: Suitable for most sites
- Lay a dab of mortar onto the sub base, and place a flat wooden board (approx. 300mm square) on top of the mortar
- Using a dumpy level on top of the board, squash the mortar to the finished blinding level (remembering to allow for the thickness of the board)
- Place more dabs of mortar to create a grid on pads on 2-3m centres.
- Once dry, spread the grit between the pads, and roughly level
- Lay your straight edges from dab to dab
- Screed level
Method 2: Suitable for most sites
- Spread the grit in lines about 150-300mm wide across the site – the lines should be about 2-3m apart
- Lay round screed rails on to the grit and tap into the grit until the top of the rail is at the correct level
- Spread the rest of the grit between the rails and roughly level
- Screed level
For screeding tools try:
https://www.expresstools.co.uk/shop/block-paving/block-paving-screeding.html
https://www.baron-mixer.com/en/screed-roller-bar/
For larger areas of blinding, consider using a laser grader, like the unit from BLEC.

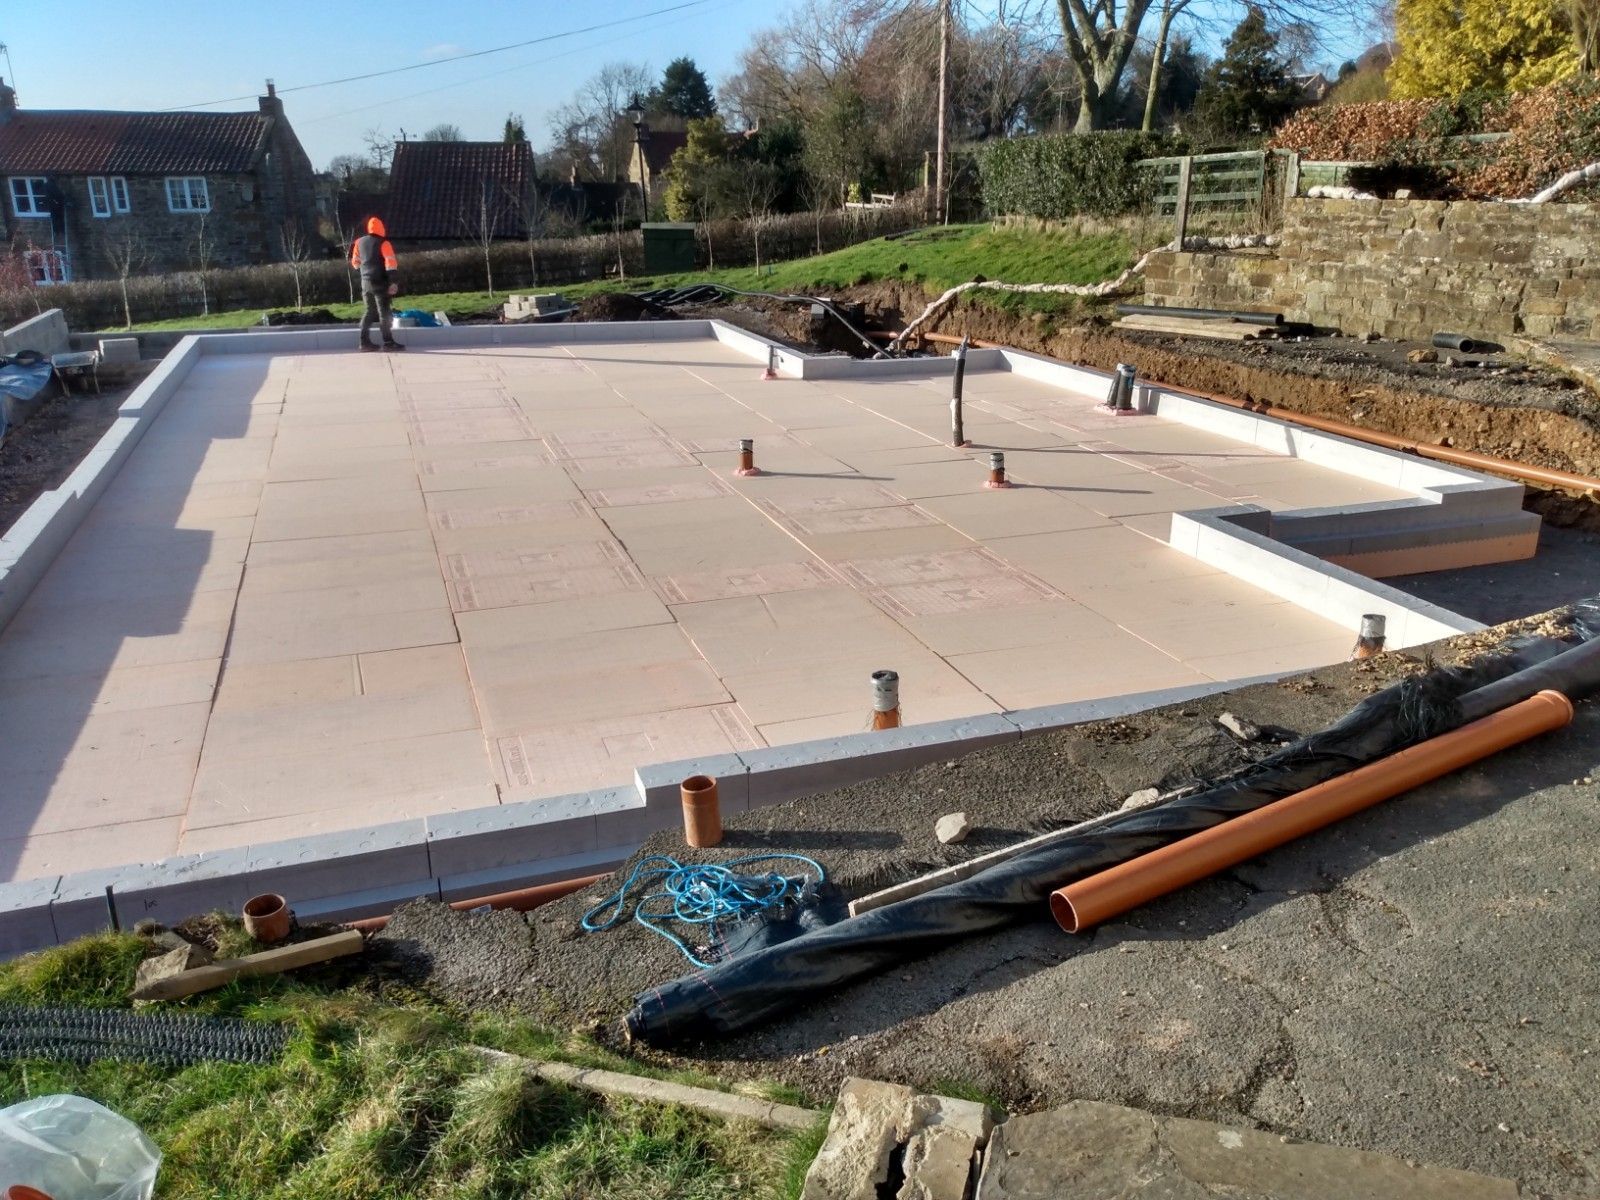
6. Lay out your string lines
Having prepared your base, lay out your string lines. The string should run approximately 50mm above the edge of the concrete. It is always worth double checking your strings are set straight and square, and that the pipes are in the right place, relative to the slab edge before your start installing.
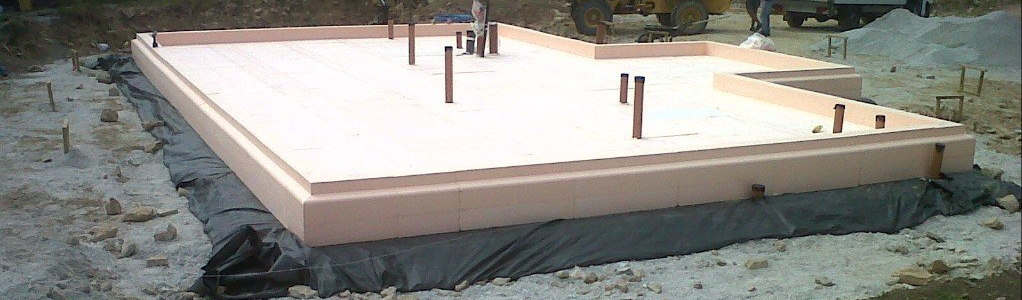
7. Ready to install ISOQUICK®
And finally, you’re ready to install the ISOQUICK® rafts! If you’ve prepared the site correctly, the edge modules, which are custom manufactured specifically for each site, will align with the profile boards and fit perfectly into place.
Our team is known for going above and beyond when it comes to supporting our customers so if you have any site specific questions, would like some advice or want a quote please don’t hesitate to contact us using our contact form .